Hi friends,
Welcome to another post under Creating WordPress(WP) Website. In the previous post, we learnt to change the Logo and create Image slider in our website. In this post, we will learn to add posts to our WP website.
Before learning to add new posts to the website, first we'll update the About Us page of our website. To do so, go to the Pages link on the Dashboard and click Edit link under the About Us page. Just add some text and press Update button.
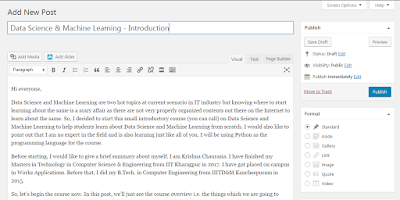
Now, we will see how to add posts to the website. To do that, go to the Posts link present on the Dashboard. Delete the already existing posts, if any, from the website. Next, click Add New button beside the Posts label to add new post to the website.
Give the Title of the post and add some contents to the post and click Publish.
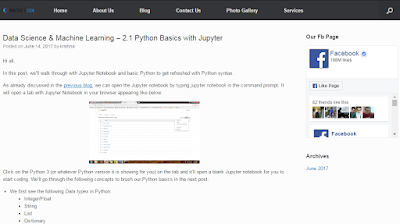
I will add a couple of more posts the same way as done above so that we can visualize the blog page better while viewing it later.
Now, we need to link the posts page to the Blog link available in the navigation menu. To do so, go to
the Customize link under Appearance as shown below:
Next, click on Static Front Page and select Blog option from the drop down menu to the Posts page label.
Finally do Save & Publish to update it to the website. Once finished, go to the Blog link on our website and you can see the latest published posts.
Here, you can see that the full content of the posts is visible on the Blog page which doesn't look quite good. It would be better if it is just the excerpts of the posts that appear one after another and opens the full content only when clicked on the excerpt. So, to do that, open the Customize link under Appearance on the Dashboard Page. Next, click on Theme Settings and then click on Blog.
In the following page, select the Post Excerpt option under the drop down menu present under the Post Content label. Finally, do Save & Publish to apply it to the website. If you again refresh the Blog page of the website, you can see a page similar to one below:
Clicking on the Continue reading button shown below each post opens the post in full view which is much more appealing compared to the full post on the Blog page itself. We end this post with this here. In the next post, we will learn to add a photo gallery in our WP website.


0 comments:
Post a Comment